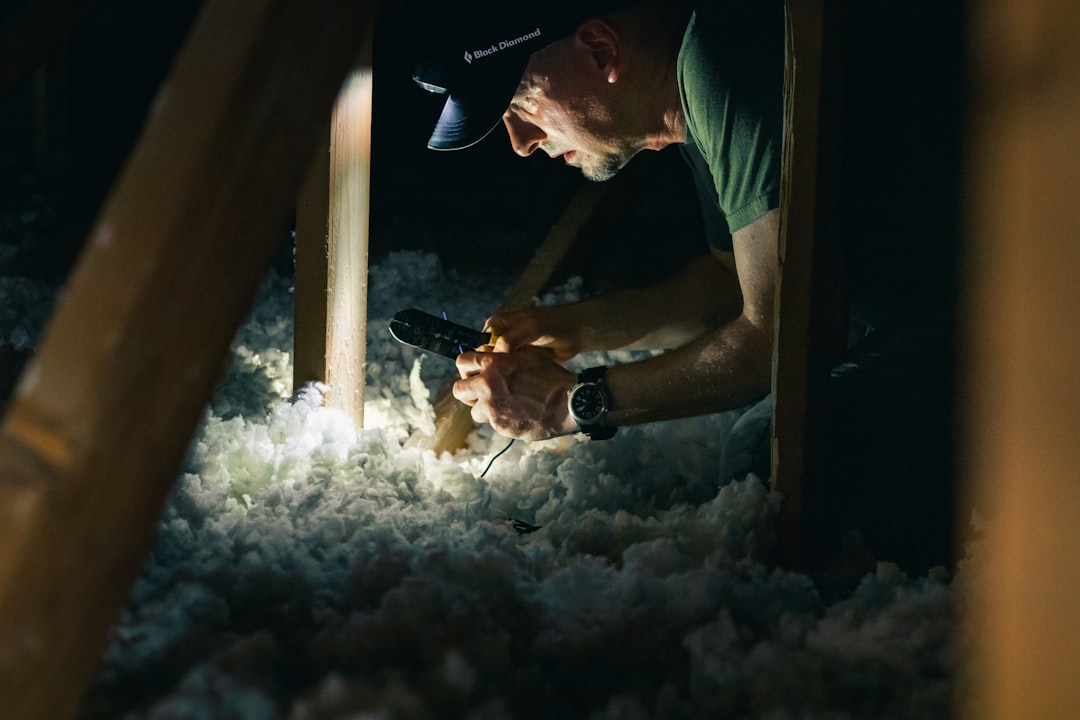
Adding insulation gets all the attention, but insulation only slows heat transfer — it does nothing to stop air moving straight through a gap. If your house has holes, you are heating and cooling the outdoors no matter how deep the attic batts are. Air sealing your home is the step that makes every other efficiency upgrade work properly, and it is the one you can do yourself with a caulk gun and a weekend.
The EPA estimates homeowners save an average of 15% on heating and cooling costs — roughly 11% of total energy costs — by air sealing and adding insulation in attics, floors over crawl spaces, and basements. That figure assumes a competent job cutting total air infiltration by about 25%, which is well within reach for a motivated DIYer.
Where the Air Actually Goes
Most people assume leaks are around windows. Windows matter, but they are rarely the biggest culprit. Air moves through a house by the stack effect: warm air rises and escapes at the top, pulling cold air in at the bottom to replace it. Seal only the middle and you accomplish very little.
The leaks that cost you the most, roughly in order:
- Attic penetrations — plumbing stacks, wiring holes, recessed light housings, the gap around the chimney chase, and the attic hatch itself.
- Top plates — the horizontal framing at the top of interior walls, often open to the attic and hidden under insulation.
- Basement and crawl space rim joists — the band of framing where the floor meets the foundation. A classic cold-floor cause.
- Duct chases and dropped soffits — the boxed-in areas above kitchen cabinets or bathroom vanities are frequently open cavities running straight to the attic.
- Doors and windows — real, but usually a comfort problem more than a bill problem.
If you have not already walked your house looking for these, start with a DIY home energy audit to build a prioritized list before you buy materials.
Finding Leaks Without Special Equipment
A professional blower door test depressurizes the house and makes every leak obvious, and it is worth paying for if you are planning a larger retrofit. But you can find most of the big ones for free.
On a windy or cold day, turn off combustion appliances, close all windows, and run your kitchen and bathroom exhaust fans to pull the house slightly negative. Then move a lit incense stick slowly along suspect areas. Where the smoke bends sharply, you have a leak.
In the attic, look for dirty insulation. Fiberglass acts as a crude air filter, so gray or blackened patches mark spots where air has been moving through for years. Dark streaks on the underside of the roof deck near penetrations tell the same story.
Caulk, Foam or Weatherstripping? Match the Material to the Gap
Picking the wrong product is the most common DIY mistake. The rule is simple: caulk for gaps that never move, weatherstripping for anything that opens and closes, spray foam for larger irregular gaps, and rigid materials for anything big.
- Gaps under 1/4 inch, static — acrylic latex caulk with silicone. Paintable, easy to tool, fine for interior trim and baseboards.
- Exterior joints, siding, masonry — silicone or polyurethane caulk. Better movement tolerance and UV resistance, but not paintable in the case of pure silicone.
- Gaps 1/4 inch to 3 inches — low-expansion polyurethane spray foam. Use the low-expansion type around windows and doors so you do not bow the frame.
- Gaps over 3 inches — cut a piece of rigid foam board or sheet metal, set it in place, then foam the perimeter. Do not try to fill a large hole with foam alone.
- Near chimneys, flues and metal vent pipes — high-temperature sealant and sheet metal only. Standard foam and caulk are combustible and must be kept back from hot surfaces per code clearances.
For doors and operable windows, weatherstripping comes in several forms. V-strip (tension seal) is durable and hides in the jamb. Adhesive-backed foam tape is cheap and easy but wears out in a few years. Door sweeps and threshold seals handle the gap at the bottom, which is often the largest single opening in an exterior door.
A Sensible Work Order
Work top to bottom. The attic gives the best return because the stack effect makes it the primary exit point.
- Attic first. Seal every penetration, box and seal the tops of dropped soffits, weatherstrip and insulate the attic hatch, and only then add insulation on top.
- Basement or crawl space second. Seal rim joists, foundation cracks, and any penetration for pipes, wiring or dryer vents.
- Living space last. Caulk trim, seal around plumbing under sinks, add outlet and switch gaskets on exterior walls, and replace tired weatherstripping.
Sealing the attic before you insulate is not optional — once loose-fill insulation is blown in, finding and reaching those penetrations becomes miserable. If insulation is on your list, read the home insulation guide alongside this one and plan both jobs together.
Do Not Seal a House Too Tight Without Thinking About Ventilation
This is the part most DIY articles skip. A house needs a controlled amount of fresh air. Older leaky homes get it accidentally; a well-sealed home may not.
Two risks deserve attention. First, combustion safety: if you have an atmospherically vented gas water heater, furnace or fireplace, a tightened house can backdraft combustion gases indoors. Have a professional check draft after major sealing work, and make sure you have working carbon monoxide alarms. Second, moisture: without adequate ventilation, humidity from showers and cooking accumulates and can lead to mold.
Practical answers are running bath and kitchen exhaust fans that vent outdoors, and in tightly sealed homes, adding balanced mechanical ventilation such as an HRV or ERV. Any contractor doing a whole-house air sealing job should be running a blower door test and discussing ventilation with you.
What It Costs and What Comes Back
Air sealing is the rare upgrade where materials cost far less than the labor you supply. A caulk gun, several tubes of caulk, a couple of cans of foam, weatherstripping for the exterior doors, and a sheet of rigid foam typically add up to a modest hardware-store trip — a fraction of what a new furnace or window costs.
Professional air sealing costs vary widely by region, house size and how accessible the attic and crawl space are, so get local quotes rather than trusting a national average. Many utilities and provincial or state energy programs offer rebates for air sealing, sometimes bundled with a subsidized energy audit — check your own utility first, since these programs change frequently.
One important note on federal incentives: the 25C Energy Efficient Home Improvement Credit, which previously covered insulation and air sealing materials, expired for improvements placed in service after December 31, 2025. State, provincial and utility programs are now the realistic route to a rebate. Verify current eligibility with your utility and tax authority before counting on any credit.
Once the envelope is tight, the rest of your efficiency spending works harder. A tighter house lets a smaller heat pump do the job, keeps the thermostat setpoint honest, and pairs well with the other steps in our guide to lowering your electricity bill.
The Bottom Line
Air sealing is the highest-value, lowest-cost efficiency work available to most homeowners, and it is genuinely DIY-friendly. Find the leaks with an incense stick and dirty insulation, work top to bottom starting in the attic, match the material to the size of the gap, and keep combustion safety and ventilation in mind as the house gets tighter. Do this before you spend on insulation, windows or new HVAC, and every dollar that follows will go further.
Rebates, tax credits and material costs change frequently and vary by state, province and utility. Confirm current figures with your local utility and a qualified contractor before making decisions.